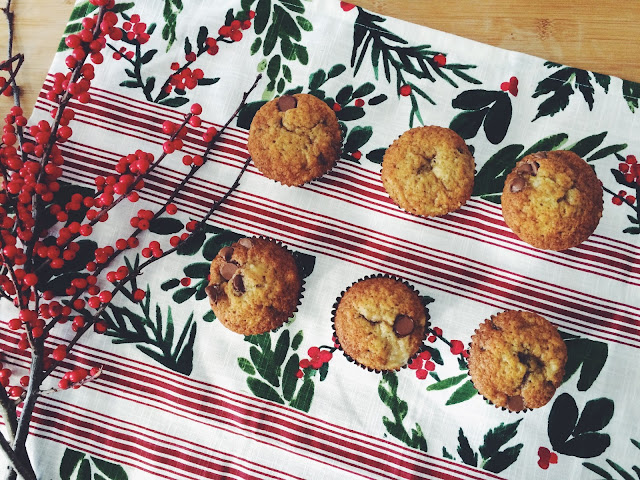
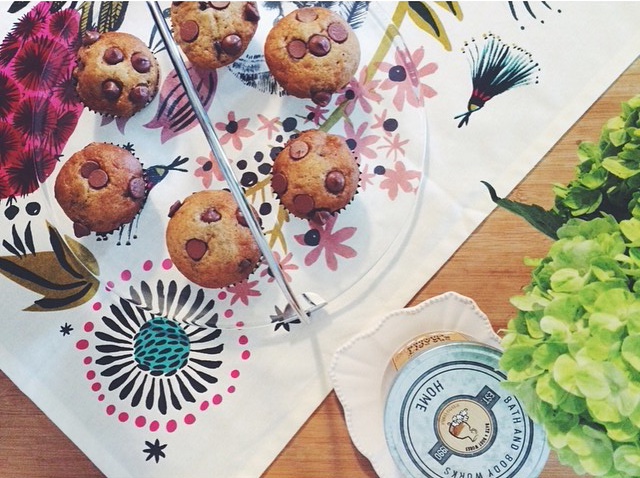
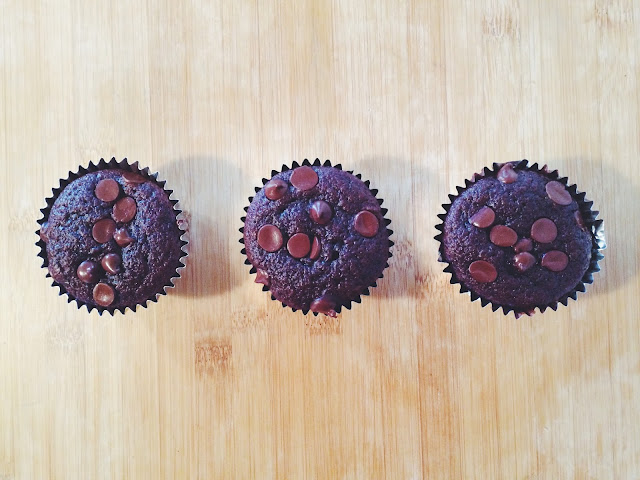
We are muffins lovers in our home. They are the perfect simple breakfast, especially on mornings we have places to be (aka Tuesdays, Thursdays and Fridays) and don't have the time to make a big breakfast of our usual eggs, bacon and toast. Our go-to muffins are banana chocolate chip but who can resist a good lemon + blueberry muffin? A match made in heaven.
There are all sorts of fun recipes circulating on Pinterest and after picking up a new muffin pan on clearance from Anthropologie, I couldn't resist whipping up a batch. I've actually never baked with greek yogurt before but I think that's one reason they turned out so moist and delicious. I've made mine to be gluten free by substituting regular flour for Cup4Cup gf flour but all-purpose flour will certainly do the trick!
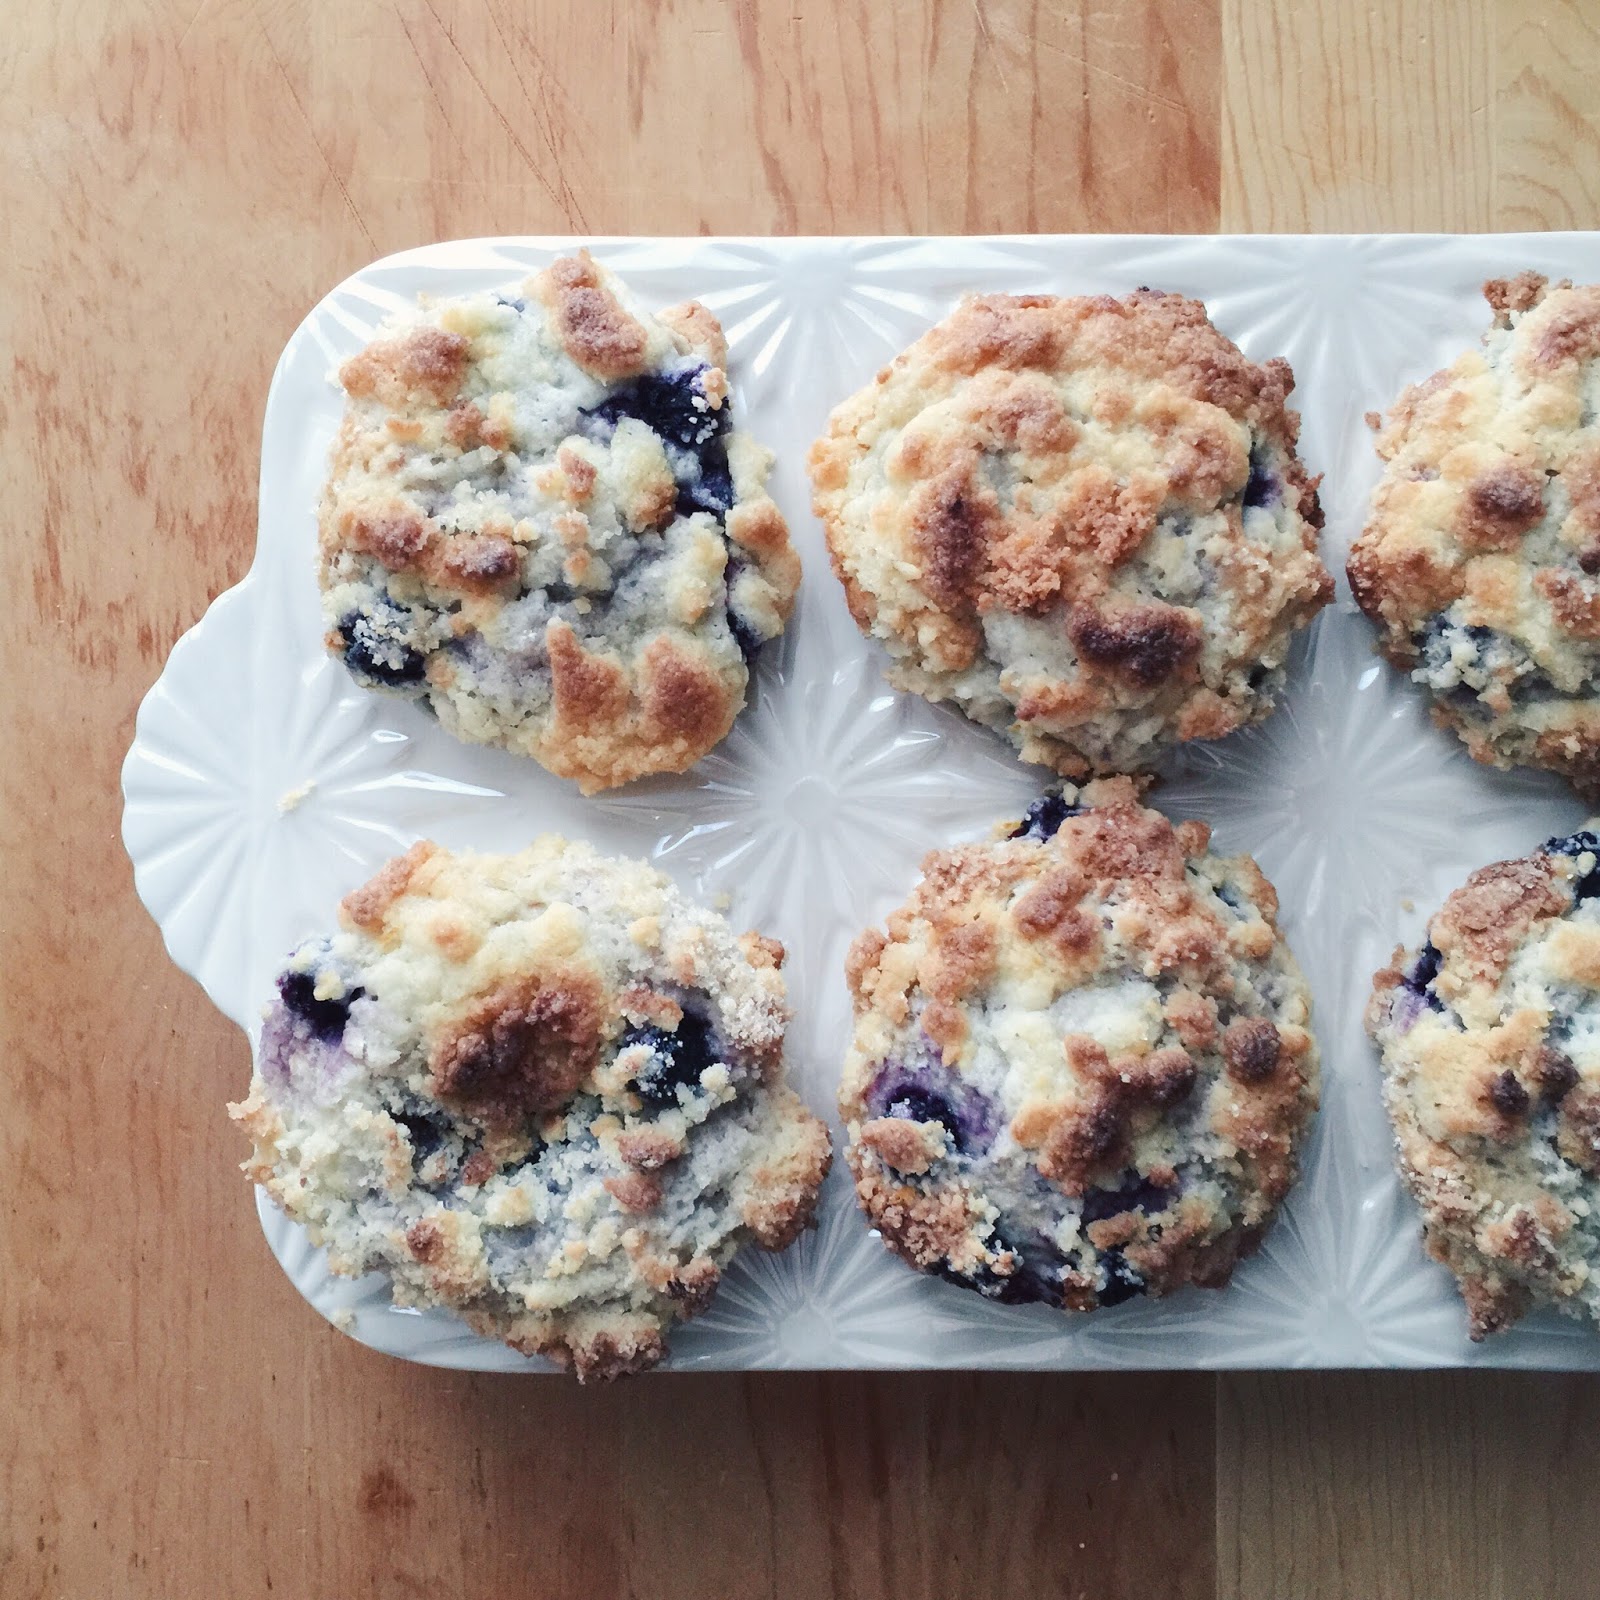
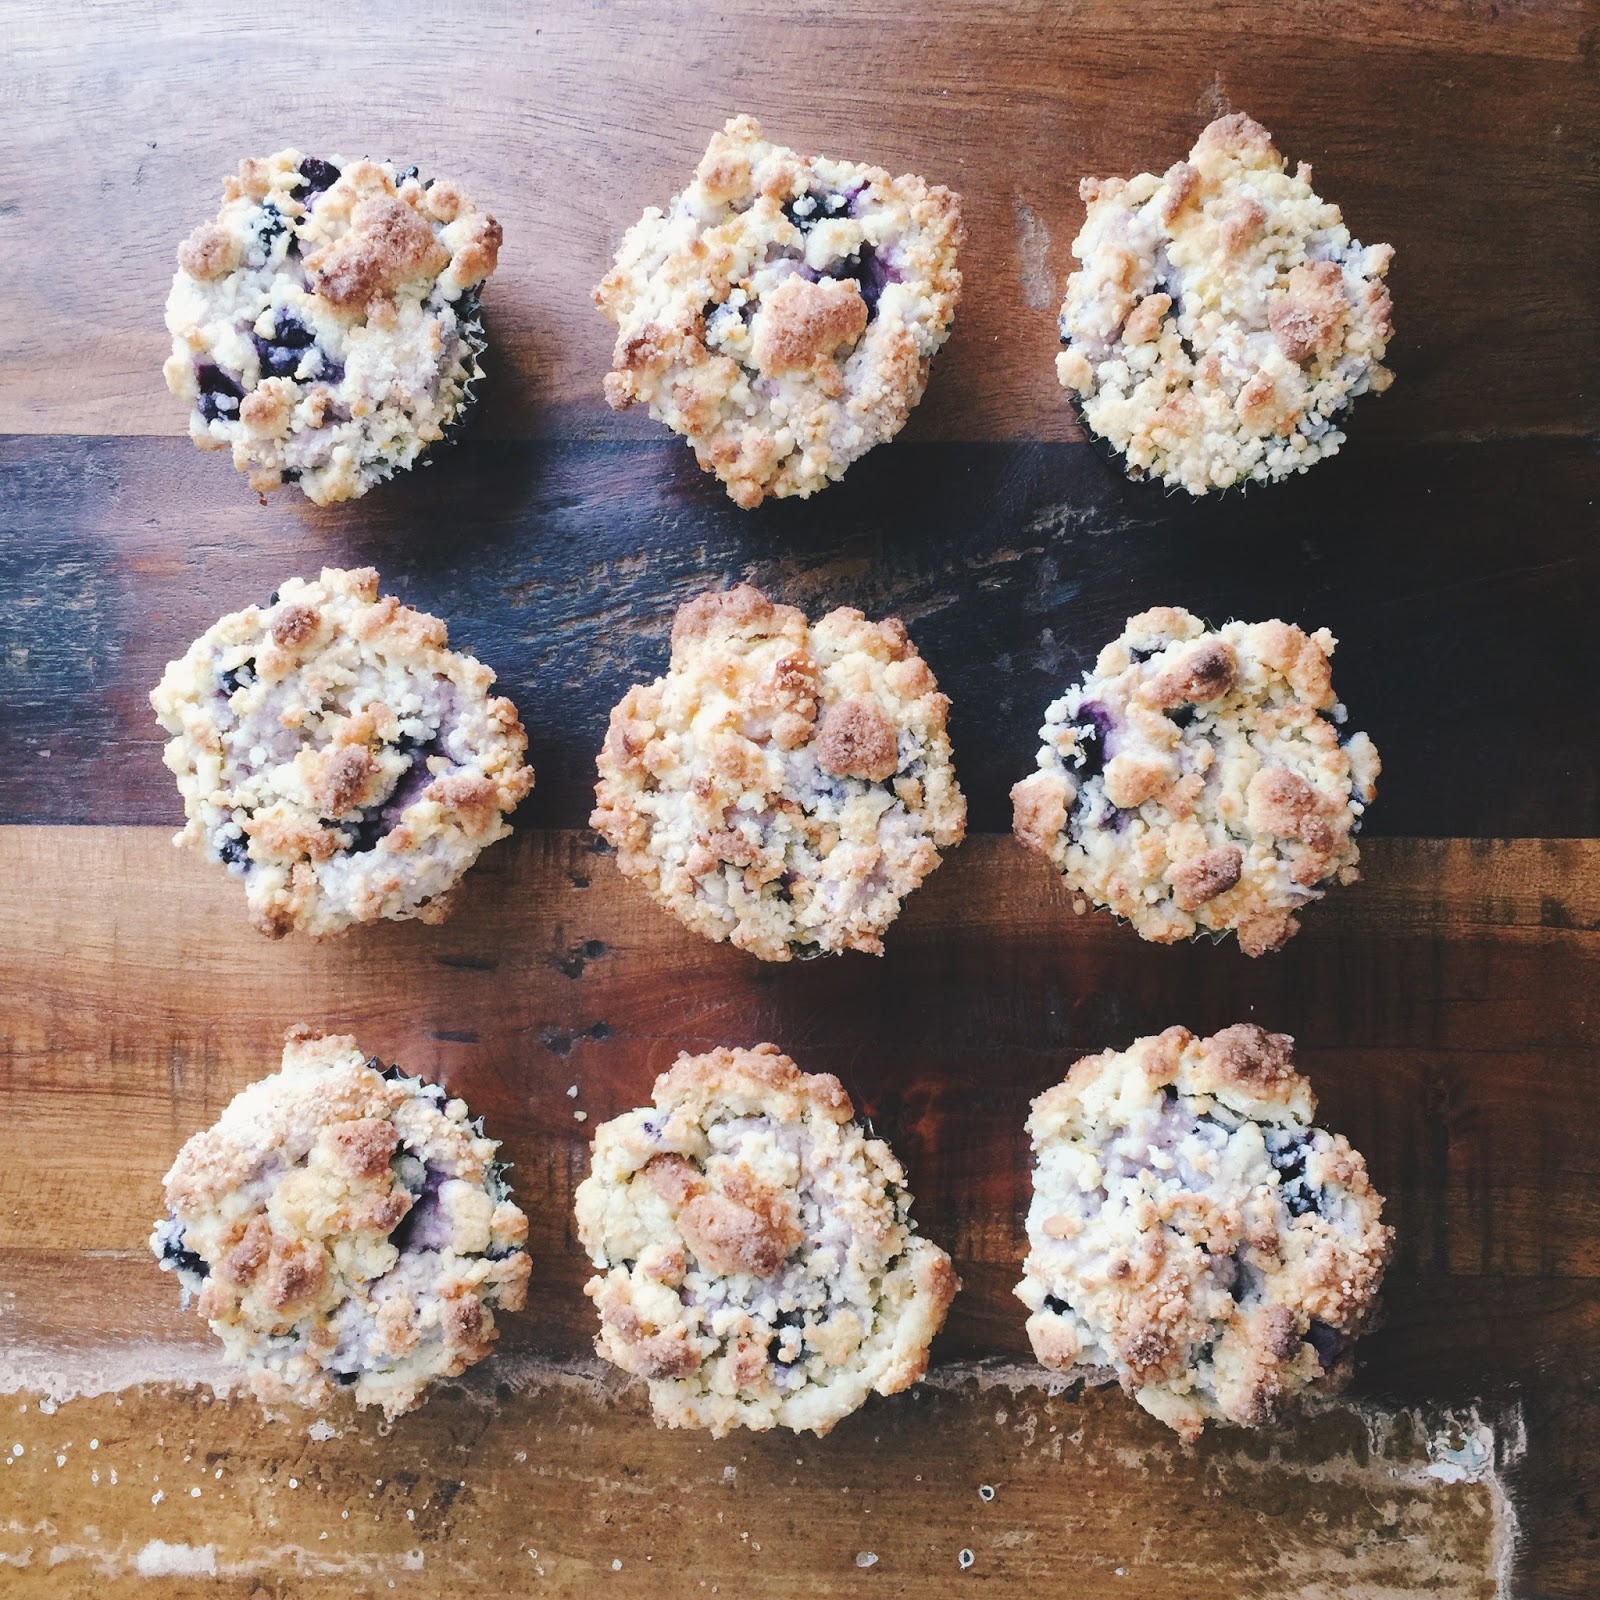
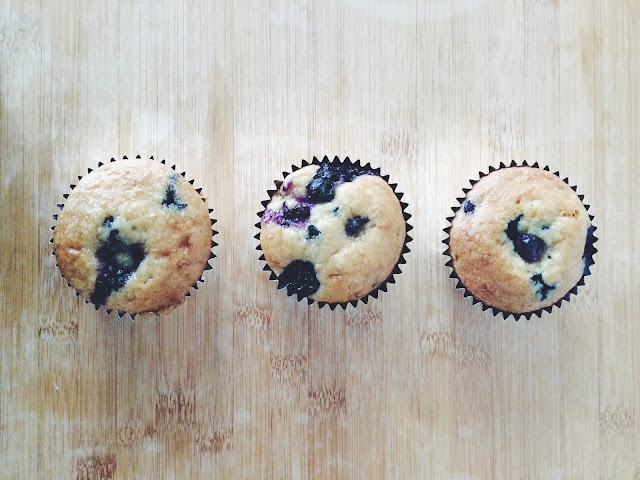
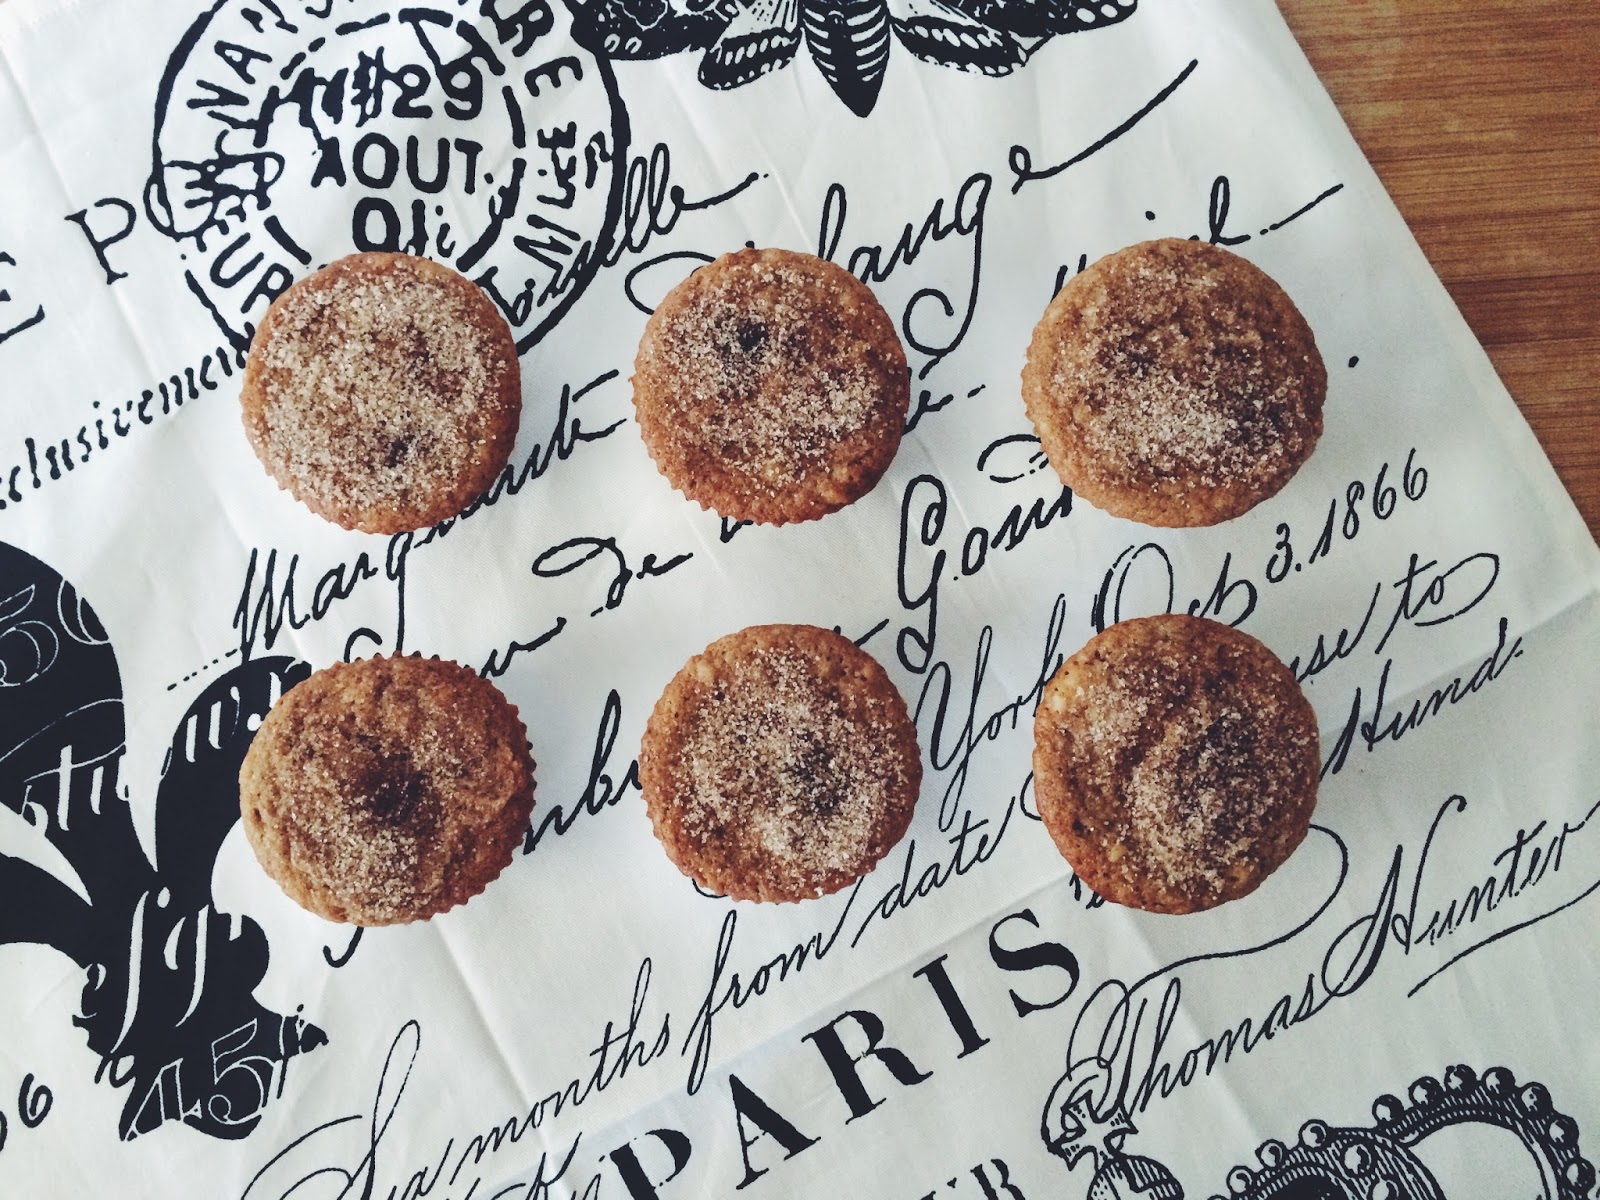
lemon blueberry greek yogurt muffins
---
what you'll need
for muffins
2 cups all-purpose or cup4cup gluten free flour
3 tsp. baking powder
1/2 tsp. salt
2 large eggs
1 cup sugar
1 cup plain greek yogurt
1/2 cup vegetable oil
1 tsp vanilla
2 cups blueberries (fresh or frozen + thawed)
Zest of one lemon
2 tablespoons fresh squeezed lemon juice
for streusel topping
1 cup all-purpose or cup4cup gluten free flour
2/3 cup sugar
1 stick of unsalted butter, softened
1-2 tablespoons lemon zest
what you'll do
1. Preheat oven to 400 degrees & line muffin pan with foil liners
2. In a large bowl, mix together flour, baking powder & salt
3. In a separate bowl, whisk eggs and sugar together; add greek yogurt, oil, vanilla and lemon juice
4. Add wet ingredients into dry ingredients
5. Fold in zest of 1 lemon and blueberries; set aside
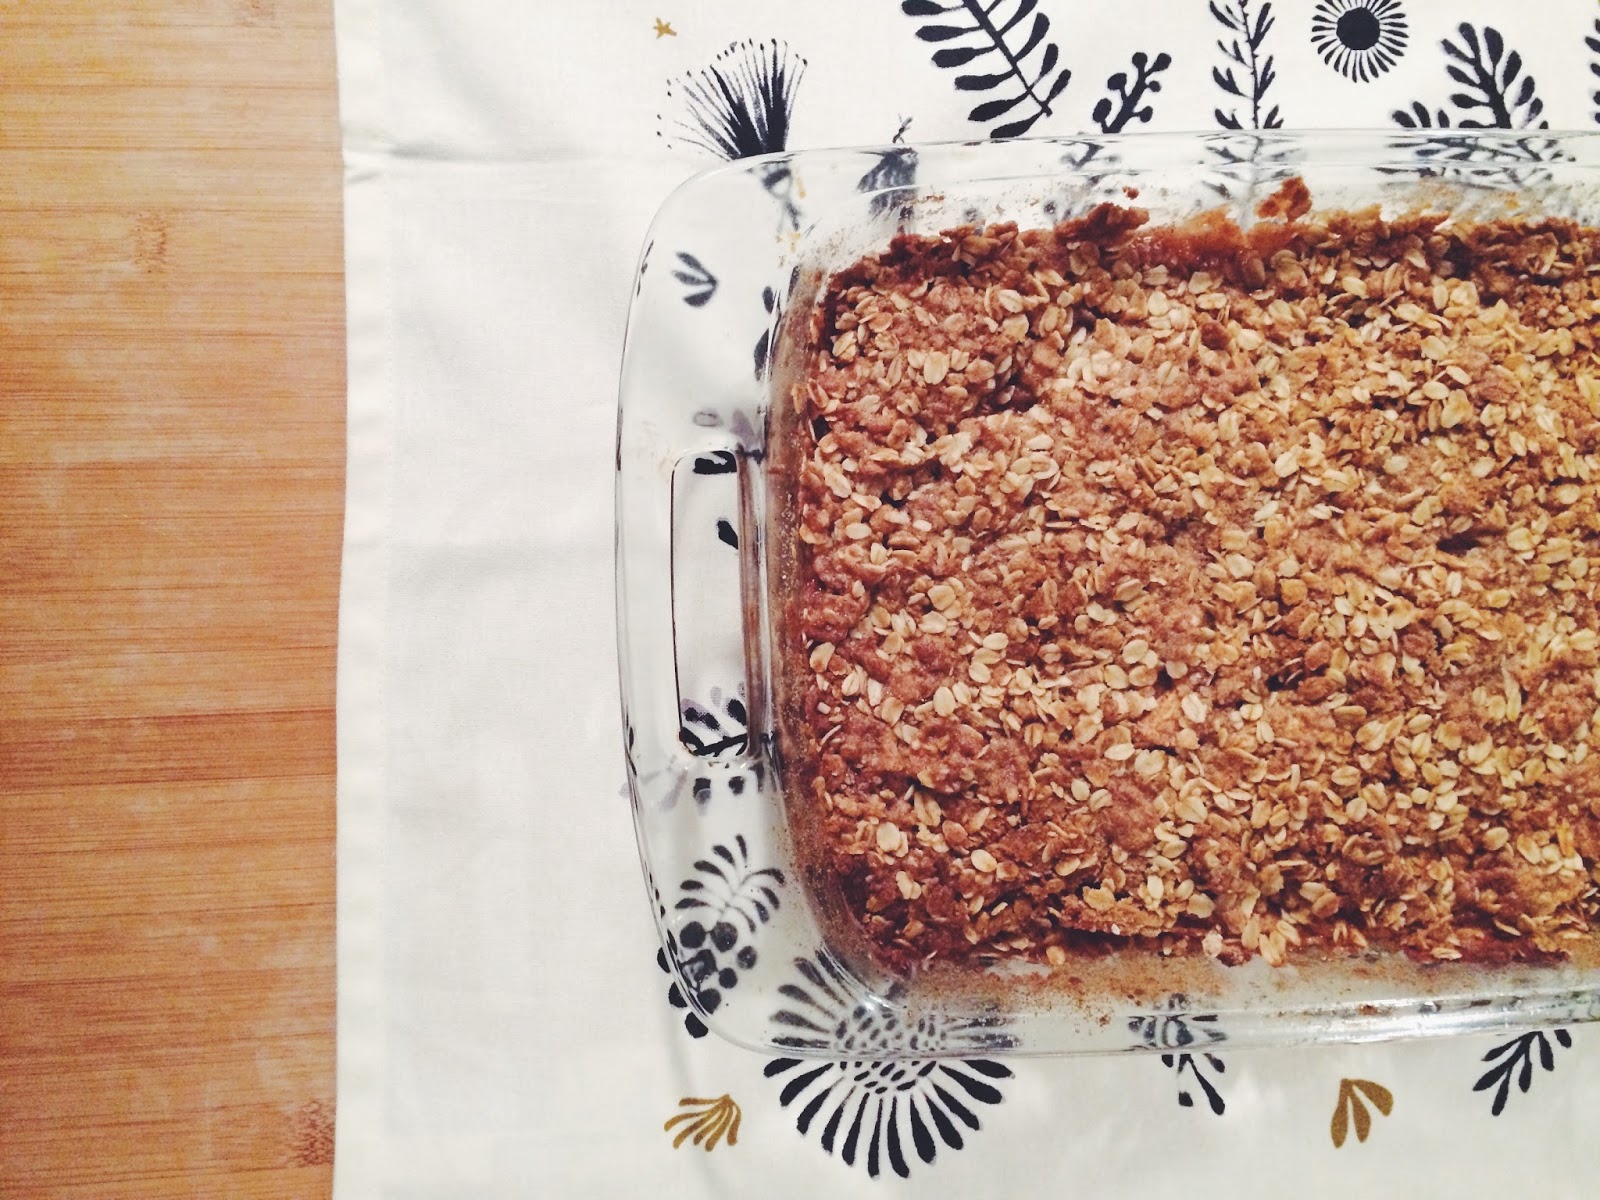
6. For topping, combine flour, sugar, softened butter and lemon zest, using a fork to mix until crumbly
7. Divide batter into muffin pan, careful not to fill them too full and sprinkle topping evenly
8. Bake 15-18 minutes or until golden brown
Our recipe made 15 large muffins, but depending on how full you fill each muffin cup, you may be able to get 18-24
P.S. I made this recipe again and halved it; I was able to make 12 regular sizes muffins and they turned out just as yummy as before!
We love serving ours warm with butter. And considering the snow has been flying like crazy today, they are the perfect treat for staying cozy and warm inside! Enjoy!


