Showing posts with label nutrition. Show all posts

8.14.2015

toddler meal archive

Last Fall I featured a 6-week series all about toddler meals || Below is the photo archive with all the meals and snacks featured -- Click on each picture for the full post with all meal details / You can also find them linked by week under the BABY + TODDLER page and for peeks at what meals Olivia is enjoying, head to my instagram @blessednestblog and click on the hashtag #BlessedNestToddlerMealSeries

BREAKFASTS


LUNCHES


SNACKS


DINNERS


Happy weekend!!

3.30.2015

Healthy Eating Series with Replay | Day 12 {Safe Sweets}

With April being only days away, today is the last post in my Healthy Eating Series with Replay Recycled. If you haven't been following along, I featured a four-week series all about preparing healthy meals for the whole family, with a specific focus on toddlers and children. Each post focused on a specific healthfood and offered three simple recipes for how to prepare it in a kid-friendly form. 

All of the previous posts from this series can be found below:
lovely lentils / carrots / quinoa
broccoli / power greens

Being that dessert is the best part of every meal, I'm finishing up this series with a post all about healthy desserts -- "safe sweets" -- made from fruit.


We don't give Olivia a lot of fruit with her meals, so when I make one of these desserts, they are an extra-special treat for her. I'm especially looking forward to enjoying them in the backyard under the sunshine this summer!


FROZEN YOGURT BLUEBERRY BITES

{A light and refreshing treat perfect for warmer days, these yogurt blueberry bites only require two ingredients and a little bit of patience! Olivia can eat them faster than I can make them!}

what you'll need:
+ Fresh blueberries, rinsed and dried
+ Greek yogurt of choice {We love honey flavored Greek yogurt, plain vanilla yogurt or Noosa lemon yogurt!}
+ Small plate or tray, spoon / freezer

what you'll do:
+ Using a spoon, dip or roll each blueberry in small dish of yogurt until well coated and place on plate or tray
+ Once you’ve done as many as you want, place plate/tray in freezer for 10-15 minutes or until yogurt is solid but blueberries aren’t completely frozen through
+ Remove and serve {I suggest tasting one…or a few before serving to your child to be sure they aren’t too cold / These are especially great for teething toddlers, as the mild cold is soothing to their sore gums}


GRAPE KABOBS

{As much fun to look at as they are to eat, these grape kabobs are a wonderful and healthy dessert either fresh or frozen, depending on your child’s age and preference. I often find Olivia reaching into our fridge to pluck grapes from our colander and know she loves them as much as I always have / Keep in mind you can make these grape kabobs as short or as long as desired, simply by cutting your kabob sticks into smaller pieces}

what you'll need:
+ Fresh grapes; we used a mix of red and green {I left ours whole since Olivia is nearly two, but you could also cut them in half before putting on the skewer}
+ Kabob skewers, cut to size preference {I recommend cutting them versus breaking them, to prevent any sharp ends}
+ Plate or tray / freezer

what you'll do:
+ Skewer grapes onto a kabob stick close together
+ Serve fresh or pop in the freezer for 10-15 minutes until partially frozen {How much fun would these be for kids to eat in the backyard on a hot summer day?}
+ Always taste test food before serving it from the freezer to be sure it isn’t too cold or hard to chew and keep in mind that smaller grapes or grape halves are going to freeze much quicker than larger whole ones}


APPLESAUCE COINS

{Since Olivia was very young, I have been serving her homemade applesauce that contains no sugar, but just apples and cinnamon. Even if you don’t make your own, there are now so many healthy applesauce options without sugar and even with multiple flavors - like berry, pineapple and veggie. If I don’t have any homemade applesauce on hand, I love buying Go Go Squeeze pouches and squeezing the coins directly from the pouch}

what you'll need:
+ Applesauce of choice {low to no sugar if possible}
+ 1 sandwich size ziplock bag
+ Plate or small tray / scissors / freezer

what you'll do:
+ If you are using applesauce that isn’t already in some type of pouch, fill a sandwich sized bag with a small amount and squeeze all into one corner; using a scissor, cut a tiny hole in the corner to create a mock up pastry bag
+ Squeeze applesauce onto plate or tray in small coins, about the size of a nickel
+ Freeze 10-15 minutes or until frozen through enough to handle
+ Top with a dusting of cinnamon if desired and serve


{Keep in mind if you are using a pouched applesauce, simply squeeze the coins directly from the pouch and skip the bag altogether!}


I'd love to hear what you thought of this month's collaborative series and if you would like to see something like this again in the future!

3.27.2015

Healthy Eating Series with Replay | Day 11 {Leafy Greens}

It's no secret that leafy greens have become what everyone seems to consider a superfood, and for good reason - they are as nutritionally packed as they are rumored to be. Introducing them into your child's diet can be surprisingly fun and easy. I love watching Olivia slurp down a smoothie that is filled with baby spinach and kale, knowing she has no idea what is actually in it and she can't get enough! When using the term "power greens," I'm specifically referring to spinach, kale and swiss chard - which are the three greens used in these recipes, but you can swap them out for any greens you regularly keep on hand.


One of the easiest ways to amp up the greens in your little one's diet is by adding them to fruit smoothies. Smoothies don't have to be all fruit and pure sugar - they can be protein-packed by adding greek yogurt, chia seeds or flax, and you can easily disguise a few handfuls of baby greens amidst blueberries and raspberries, two fruits extremely high in antioxidants. You can customize a smoothie in any way you want to fit your child's tastes and preferences, or simply use what you have on hand.


GREEN SMOOTHIE

{A great addition to any breakfast, this Green Smoothie is a drink us girls love to whip up in the morning to refresh up and get us started for the day! Keep in mind that all measurements are approximate, since I just throw in what I have on hand}

what you'll need:
+ 2 large handfuls of spinach or any leafy greens {I love buying a mixture of baby spinach, swiss chard and kale from TJs}
+ ½ cup whole milk {easily sub almond milk, coconut milk, or 2% milk}
+ ½ cup plain yogurt {easily sub greek yogurt or vanilla flavored yogurt}
+ ½ cup frozen fruit - I usually use blueberries and raspberries but you can sub whatever you have on hand
+ 1-2 TBSP ground flax seed or chia seeds
+ ½ banana

what you'll do:
+ Put the leafy greens in a blender or vitamix and pour the milk over it; blend until relatively smooth
+ Add the remaining ingredients and blend well; add ice to thicken if desired or more milk to thin out
+ Taste and adjust according to preferences; you can also add a squeeze of honey {if your child is over 1 year}, agave, or a splash of vanilla to sweeten it!


SPINACH OMELETTE

{We eat a lot of eggs in our home and I love how versatile an omelette can be - I always think of it as a blank canvas to which I can add anything I want; add chopped spinach into your regular omelette to supply your little one with some power greens for their day!}

what you'll need:
+ 1 whole egg
+ Small handful of baby spinach {or any leafy green}, rinsed, dried and chopped
+ 1-2 TBSP cheese of choice {We love parmesan with spinach!}
+ Avocado oil / S&P
+ Small frying pan

what you'll do:
+ Pour a few drops of avocado oil into a small frying pan; heat over medium heat
+ Crack an egg in a small bowl and scramble it with a fork; add S&P to season and chopped greens
+ Once your pan is heated, pour egg+greens mixture in to cover entire pan
+ Let cook 1-2 minutes and then 1 TBSP of cheese onto half
+ Using a small spatula, lift half the cooked egg and fold it over the other half
+ Flip the omelette over and cook 1-2 more minutes
+ Cut into bite sized pieces, wedges or strips depending on your child’s age and preference


TURKEY + GREENS GRILLED CHEESE

{Olivia really enjoys eating turkey sandwiches, but I am always looking for a way to jazz them up so she doesn’t grow tired of them. Adding in your child’s favorite white cheese and a thin layer of leafy greens and then warming it through on the stove to melt the cheese creates a delectable sandwich with the volume turned way up!}

what you'll need {to make half a sandwich}:
+ 1 piece of bread of choice
+ 1 slice of turkey of choice {we love Boar’s head brand turkey}
+ 1 slice of white cheese of choice {White Cheddar, Swiss, Provolone, etc.}
+ Handful of leafy greens
+ Butter, softened
+ Small frying pan

what you'll do:
+ Make your sandwich by laying the turkey, cheese and greens
+ Once assembled, butter each side of the bread with softened butter
+ In a small frying pan, over medium-low heat, place sandwich and cook 3-5 minutes per side depending on heat level or until cheese is melted and bread is golden brown
+ Serve warm and cut into wedges or as desired


For any of the previous recipes in this month's Healthy Eating Series with Replay Recycled, click the links below:


Have a wonderful weekend! Last weekend we had a lot going on so we are looking forward to a low-key one full of relaxing, good food and some Spring cleaning! XO

3.25.2015

Healthy Eating Series with Replay | Day 10 {Broccoli}

I have been doing a double take when looking at my calendar lately, still amazed that the month of March is almost over! How is April already upon us? April brings so many fun things, including Easter and beautiful Spring weather, but I still can't believe how fast March flew by. 

Being that March is coming to a close, there are only three days left of my collaborative series with Replay Recycled, and today I'm sharing one of my favorites -- three healthy recipes all about broccoli!

If you want to take a look at any of this month's previous posts, they can all be found below:


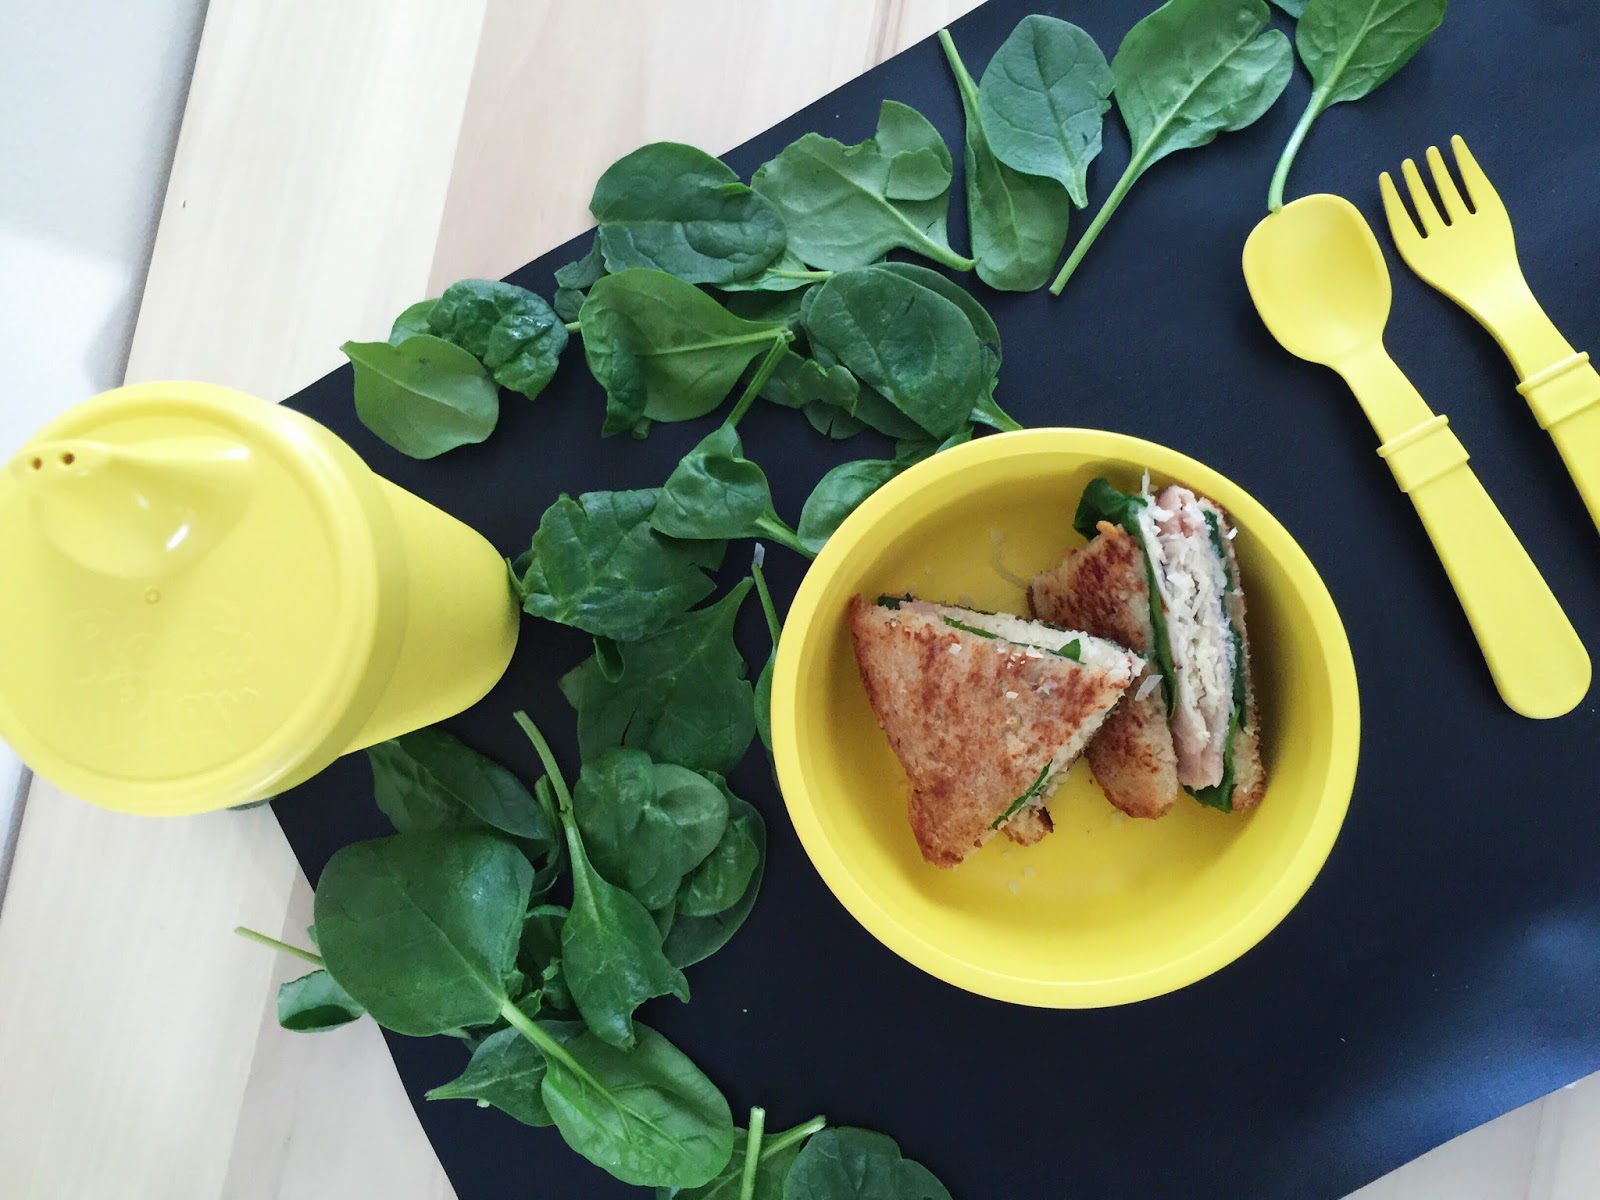
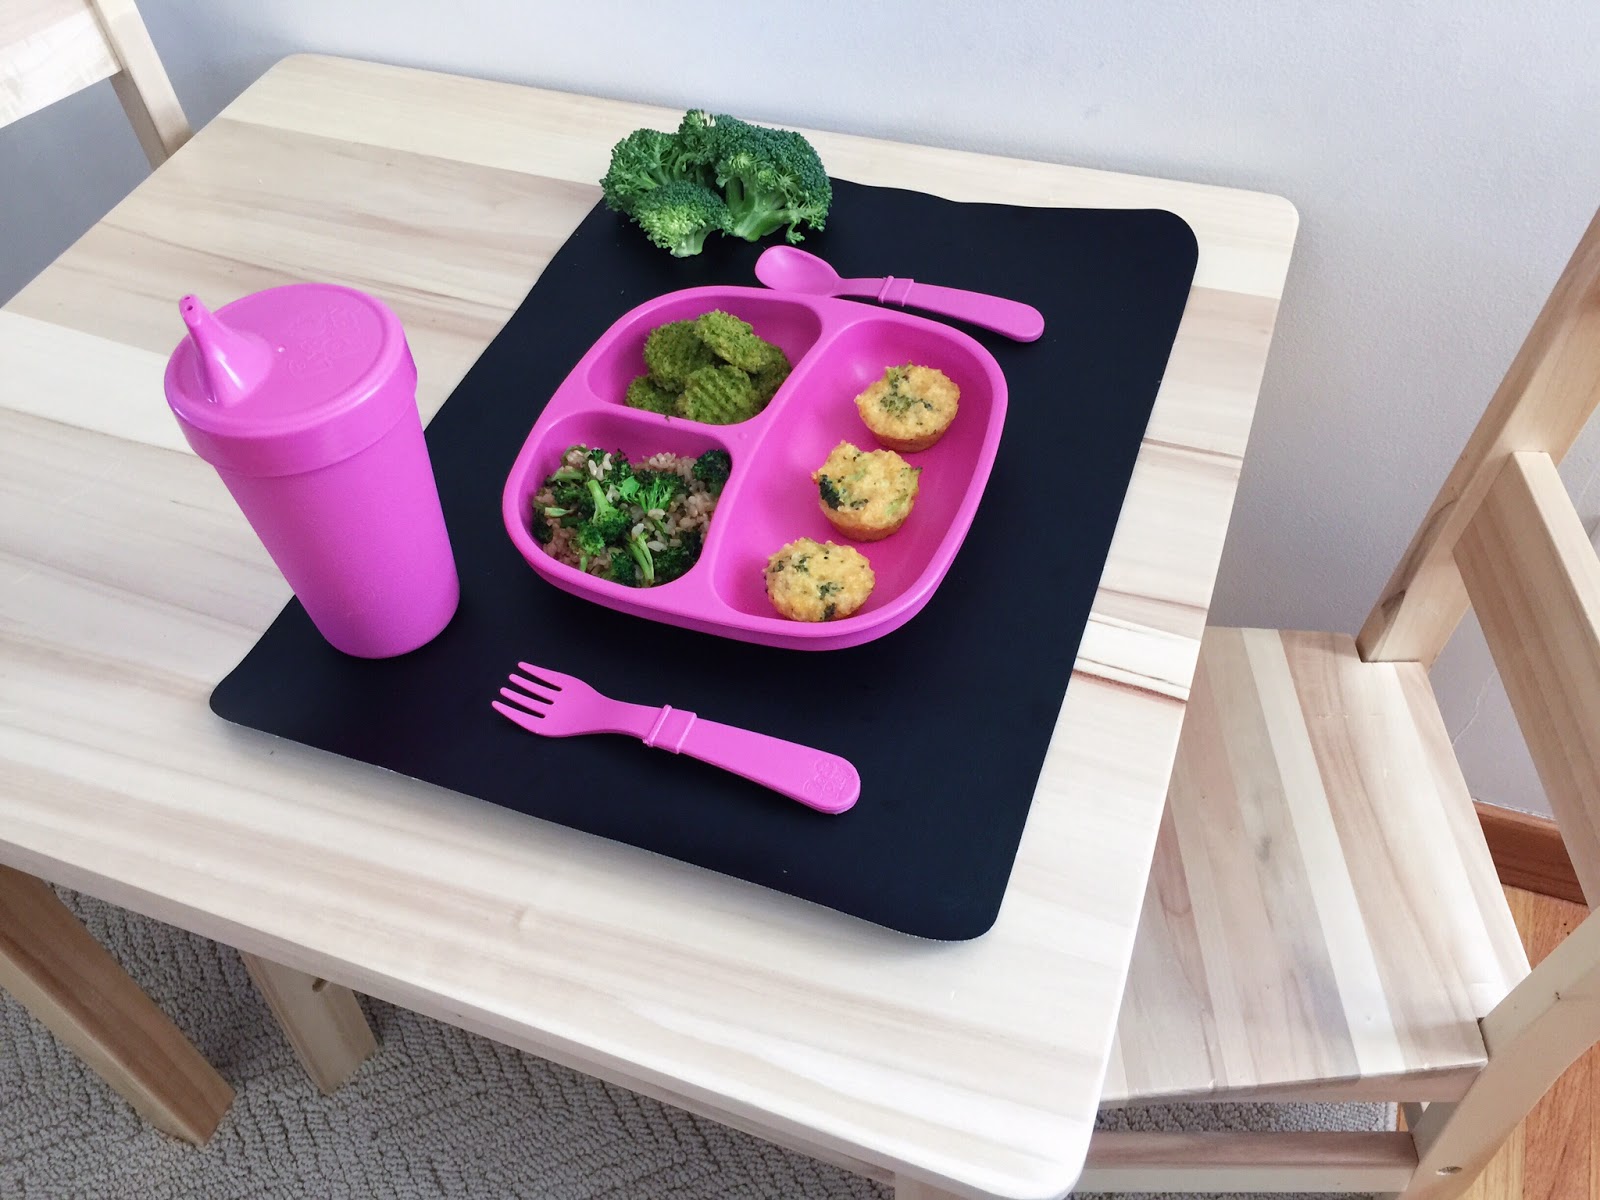
To be honest, I don't think broccoli is at the top of anyone's "Favorite Foods Ever" list, but the recipes I'm sharing today put a tasty spin on it to offer it up in a whole new light making it appealing to both children and adults. Broccoli is packed with Vitamin C and fiber, and can be steamed, roasted, sautéed and of course - eaten raw. 
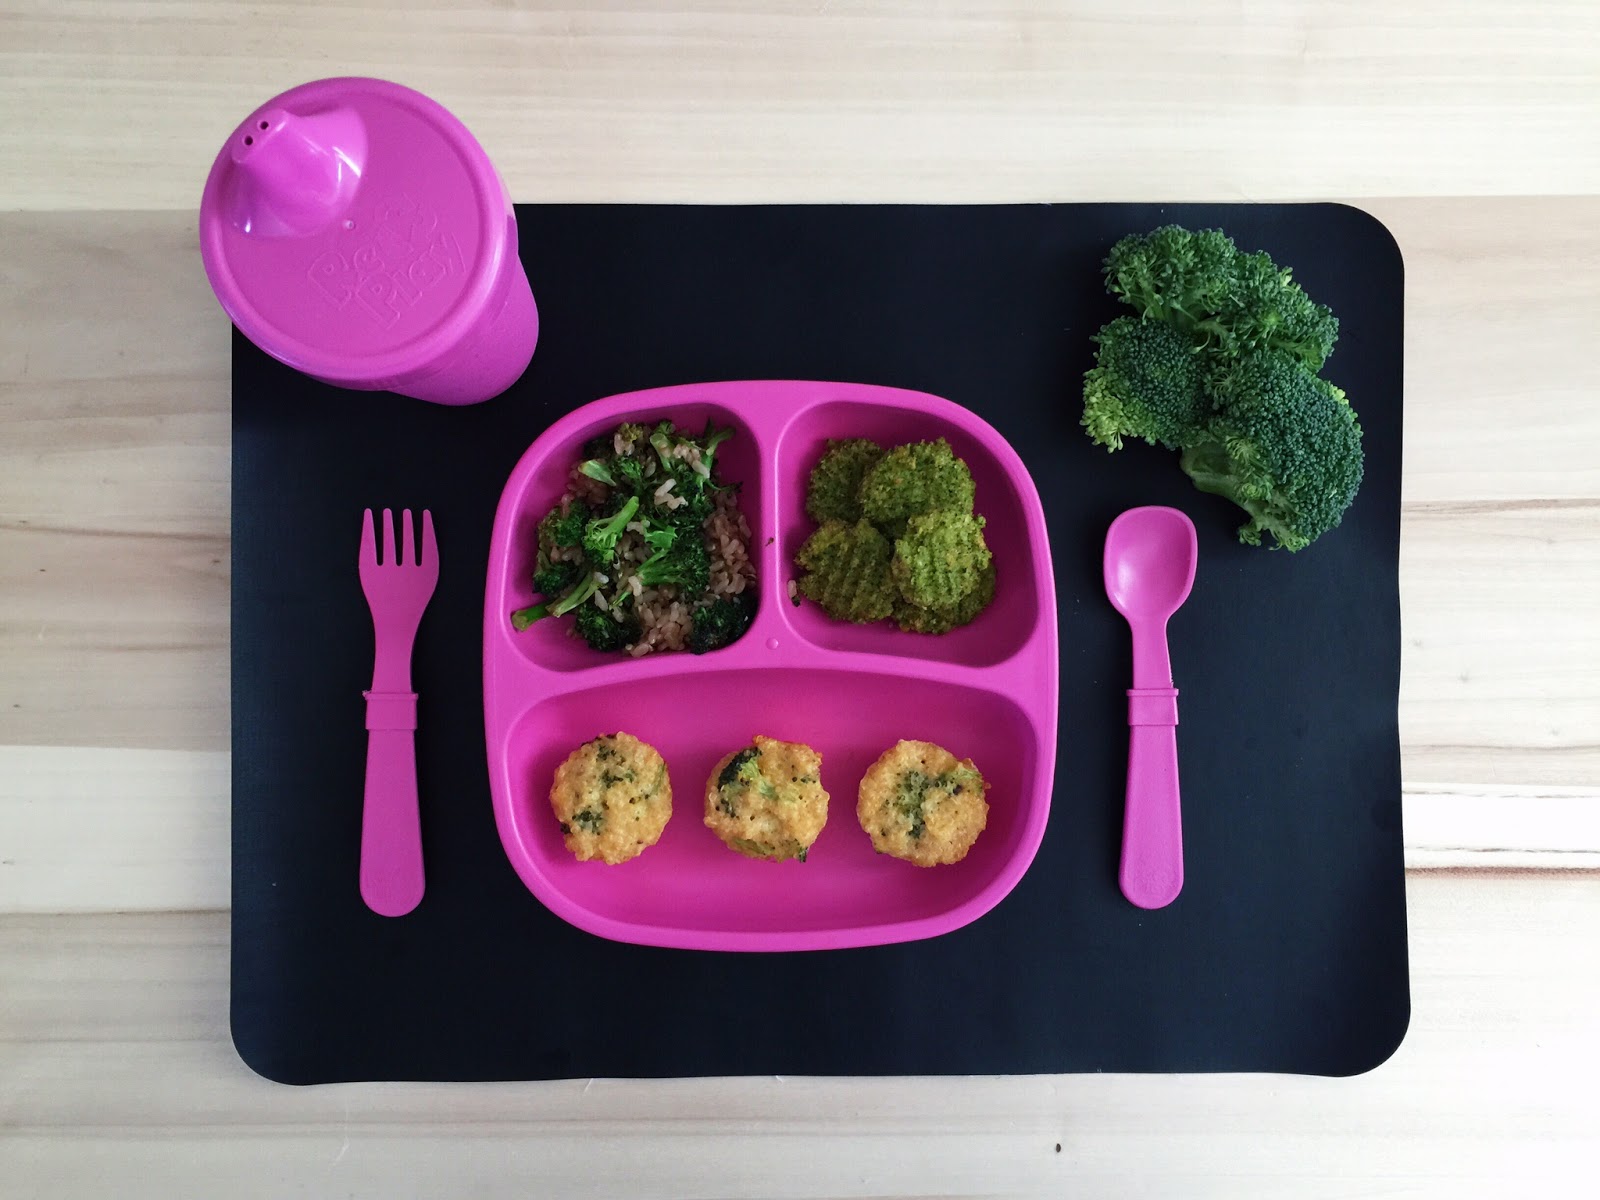
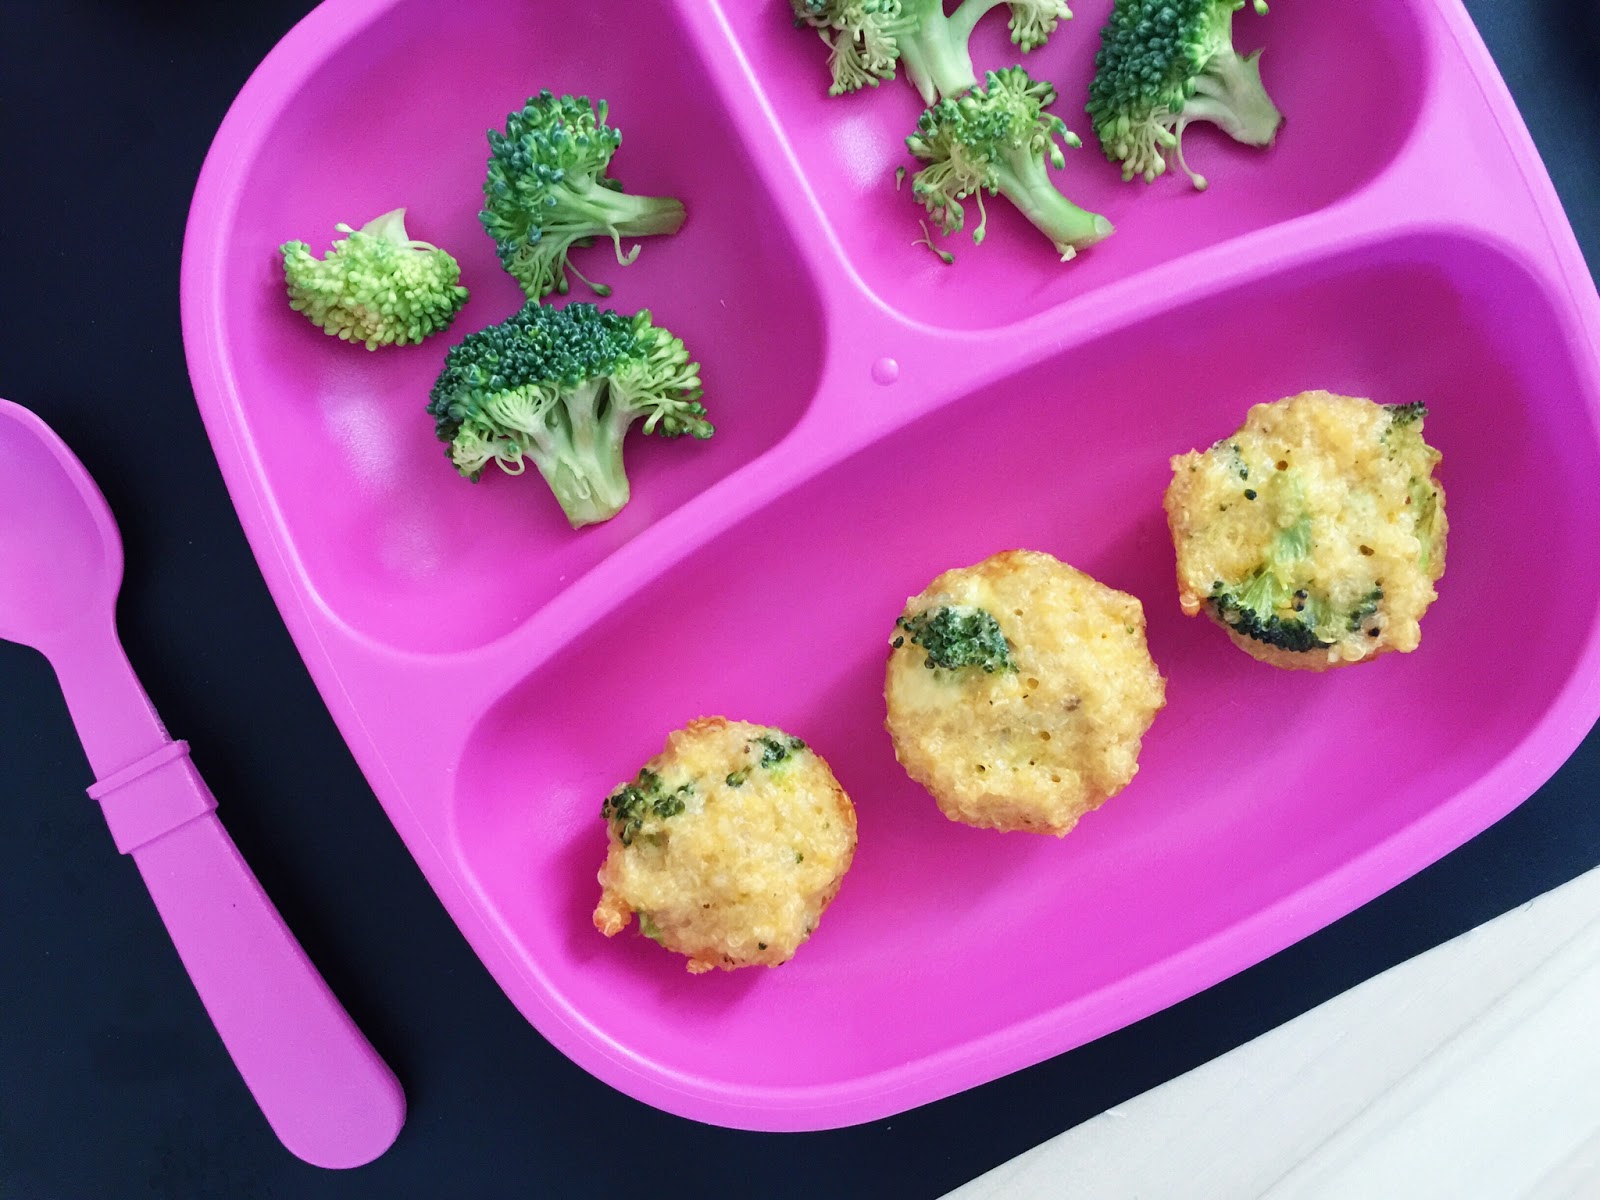

BROCCOLI CHEDDAR QUINOA BITES


{This is a great recipe to prepare on the weekend for a busy week ahead, as these broccoli cheddar quinoa bites make a yummy meal on the go or an easy afternoon snack perfect for little hands! This recipe makes approximately 30 bites}

what you'll need:
+ 2 cups cooked quinoa
+ 2 large eggs
+ 2 garlic cloves, minced
+ 1.5 cups grated sharp cheddar cheese
+ 1 cup finely chopped broccoli
+ ½ tsp salt / ½ tsp pepper
+ mini muffin pan / nonstick cooking spray or 1 TBSP softened butter

what you'll do:
+ preheat oven to 350 degrees
+ mix all ingredients above together in a large bowl until well combined
+ using a non-stick spray {or softened butter like we use}, lightly coat mini muffin pan to prevent sticking
+ spoon mixture into each cup, pressing down slightly as you go
+ bake for 15-20 minutes or until the bites are firm to the touch and slightly browned on top
+ remove from pan and serve warm

{Store in airtight container in the fridge for up to 5 days; to reheat, place on pizza stone or baking pan in oven for 8-10 minutes at 325 degrees}
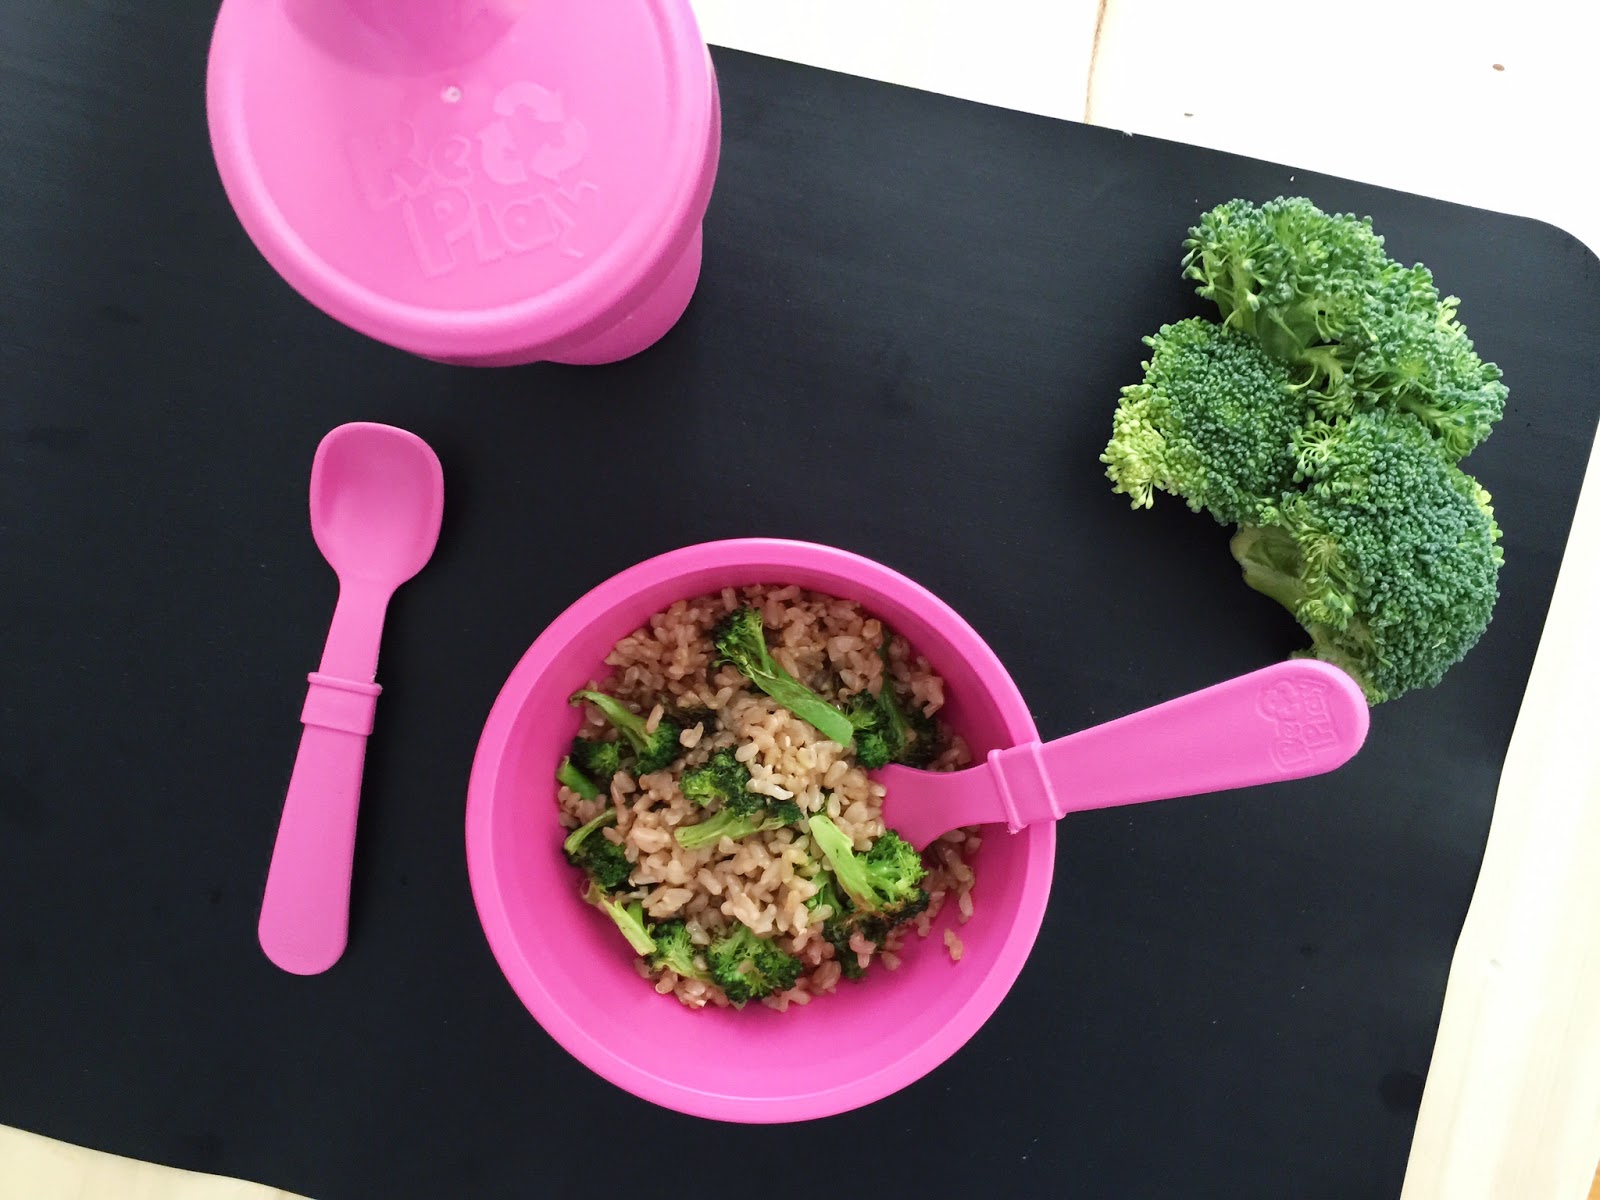

BROWN RICE WITH ROASTED BROCCOLI

{A few months ago I happened to discover that Olivia loves brown rice, and ever since then I have been using that as a simple and healthy base for meals that include roasted vegetables I have on hand. This recipe always reminds me of Chinese takeout, but it’s so much healthier and you don’t even have to leave the house to make it}

what you'll need:
+ 1 cup brown rice, cooked
+ 1 small head of raw broccoli, cut into small florets
+ Soy sauce of choice - we use Liquid Aminos since its MSG free and adds great flavor
+ Olive oil / S&P
+ Oven / Baking sheet

what you'll do:
+ Preheat oven to 375 degrees
+ Spread broccoli florets onto a baking sheet and toss lightly with olive oil; add S&P
+ Roast broccoli for 8-12 minutes, watching it closely {the smaller the florets are, the less time it will take}
+ While still warm, toss broccoli with cooked brown rice and add small amount of Liquid Aminos for flavor
+ Serve warm or at room temperature
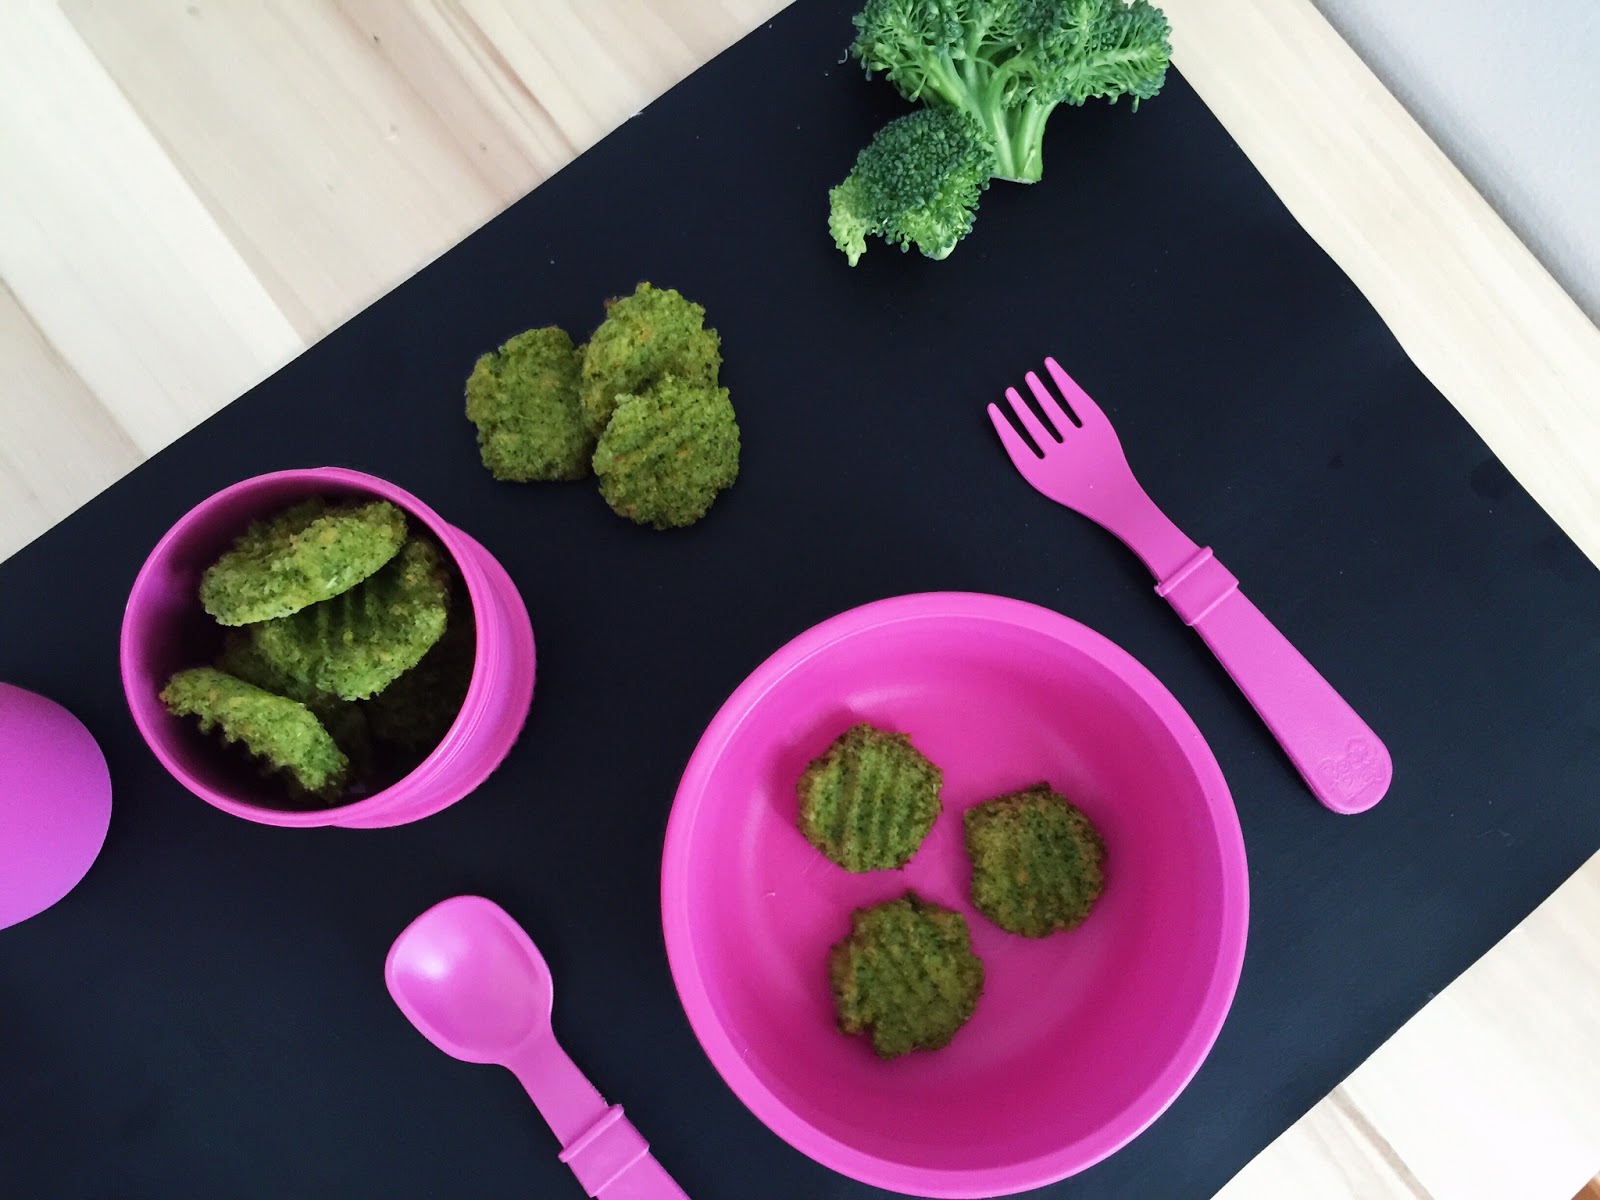

BROCCOLI NUGGETS

{These tiny green treats are a wonderful way to incorporate broccoli into your child’s diet and they can easily be dipped into your child’s favorite sauce, such as homemade ketchup or ranch dressing / The combination of fresh broccoli and sharp cheddar makes for an unmistakably healthy but tasty treat}

what you'll need:
+ 16 oz bag of broccoli florets {thawed if previously frozen}
+ 3 eggs
+ 1 cup bread crumbs
+ 1 cup shredded sharp cheddar cheese
+ 2 teaspoons Italian seasoning
+ ½ tsp garlic powder
+ ¼ tsp salt
+ large food processor / baking sheet lined with parchment paper

what you'll do:
+ preheat oven to 375 degrees
+ place broccoli florets inside a food processor and pulse until finely chopped
+ add eggs, breadcrumbs, cheese and seasoning to broccoli mixture; process a few times until well combined
+ using a small cooke scoop or spoon, place veggie nugget onto a parchment lined baking sheet; gently press down to form a coin
+ bake for 20-25 minutes until the tops are golden
+ remove from the oven and allow them to cool slightly prior to serving

{Leftovers may be stored in an airtight container in the frig for up to 3 days; reheat in oven at 325 degrees for 8-10 minutes or until warm}


I'll be sharing one more set of recipes this Friday & the final set -- all about healthy fruit desserts for your littles -- next week! 

Back to Top